
Forms are created from the Forms tab on the Feedback page (Jira Apps → Feedback).
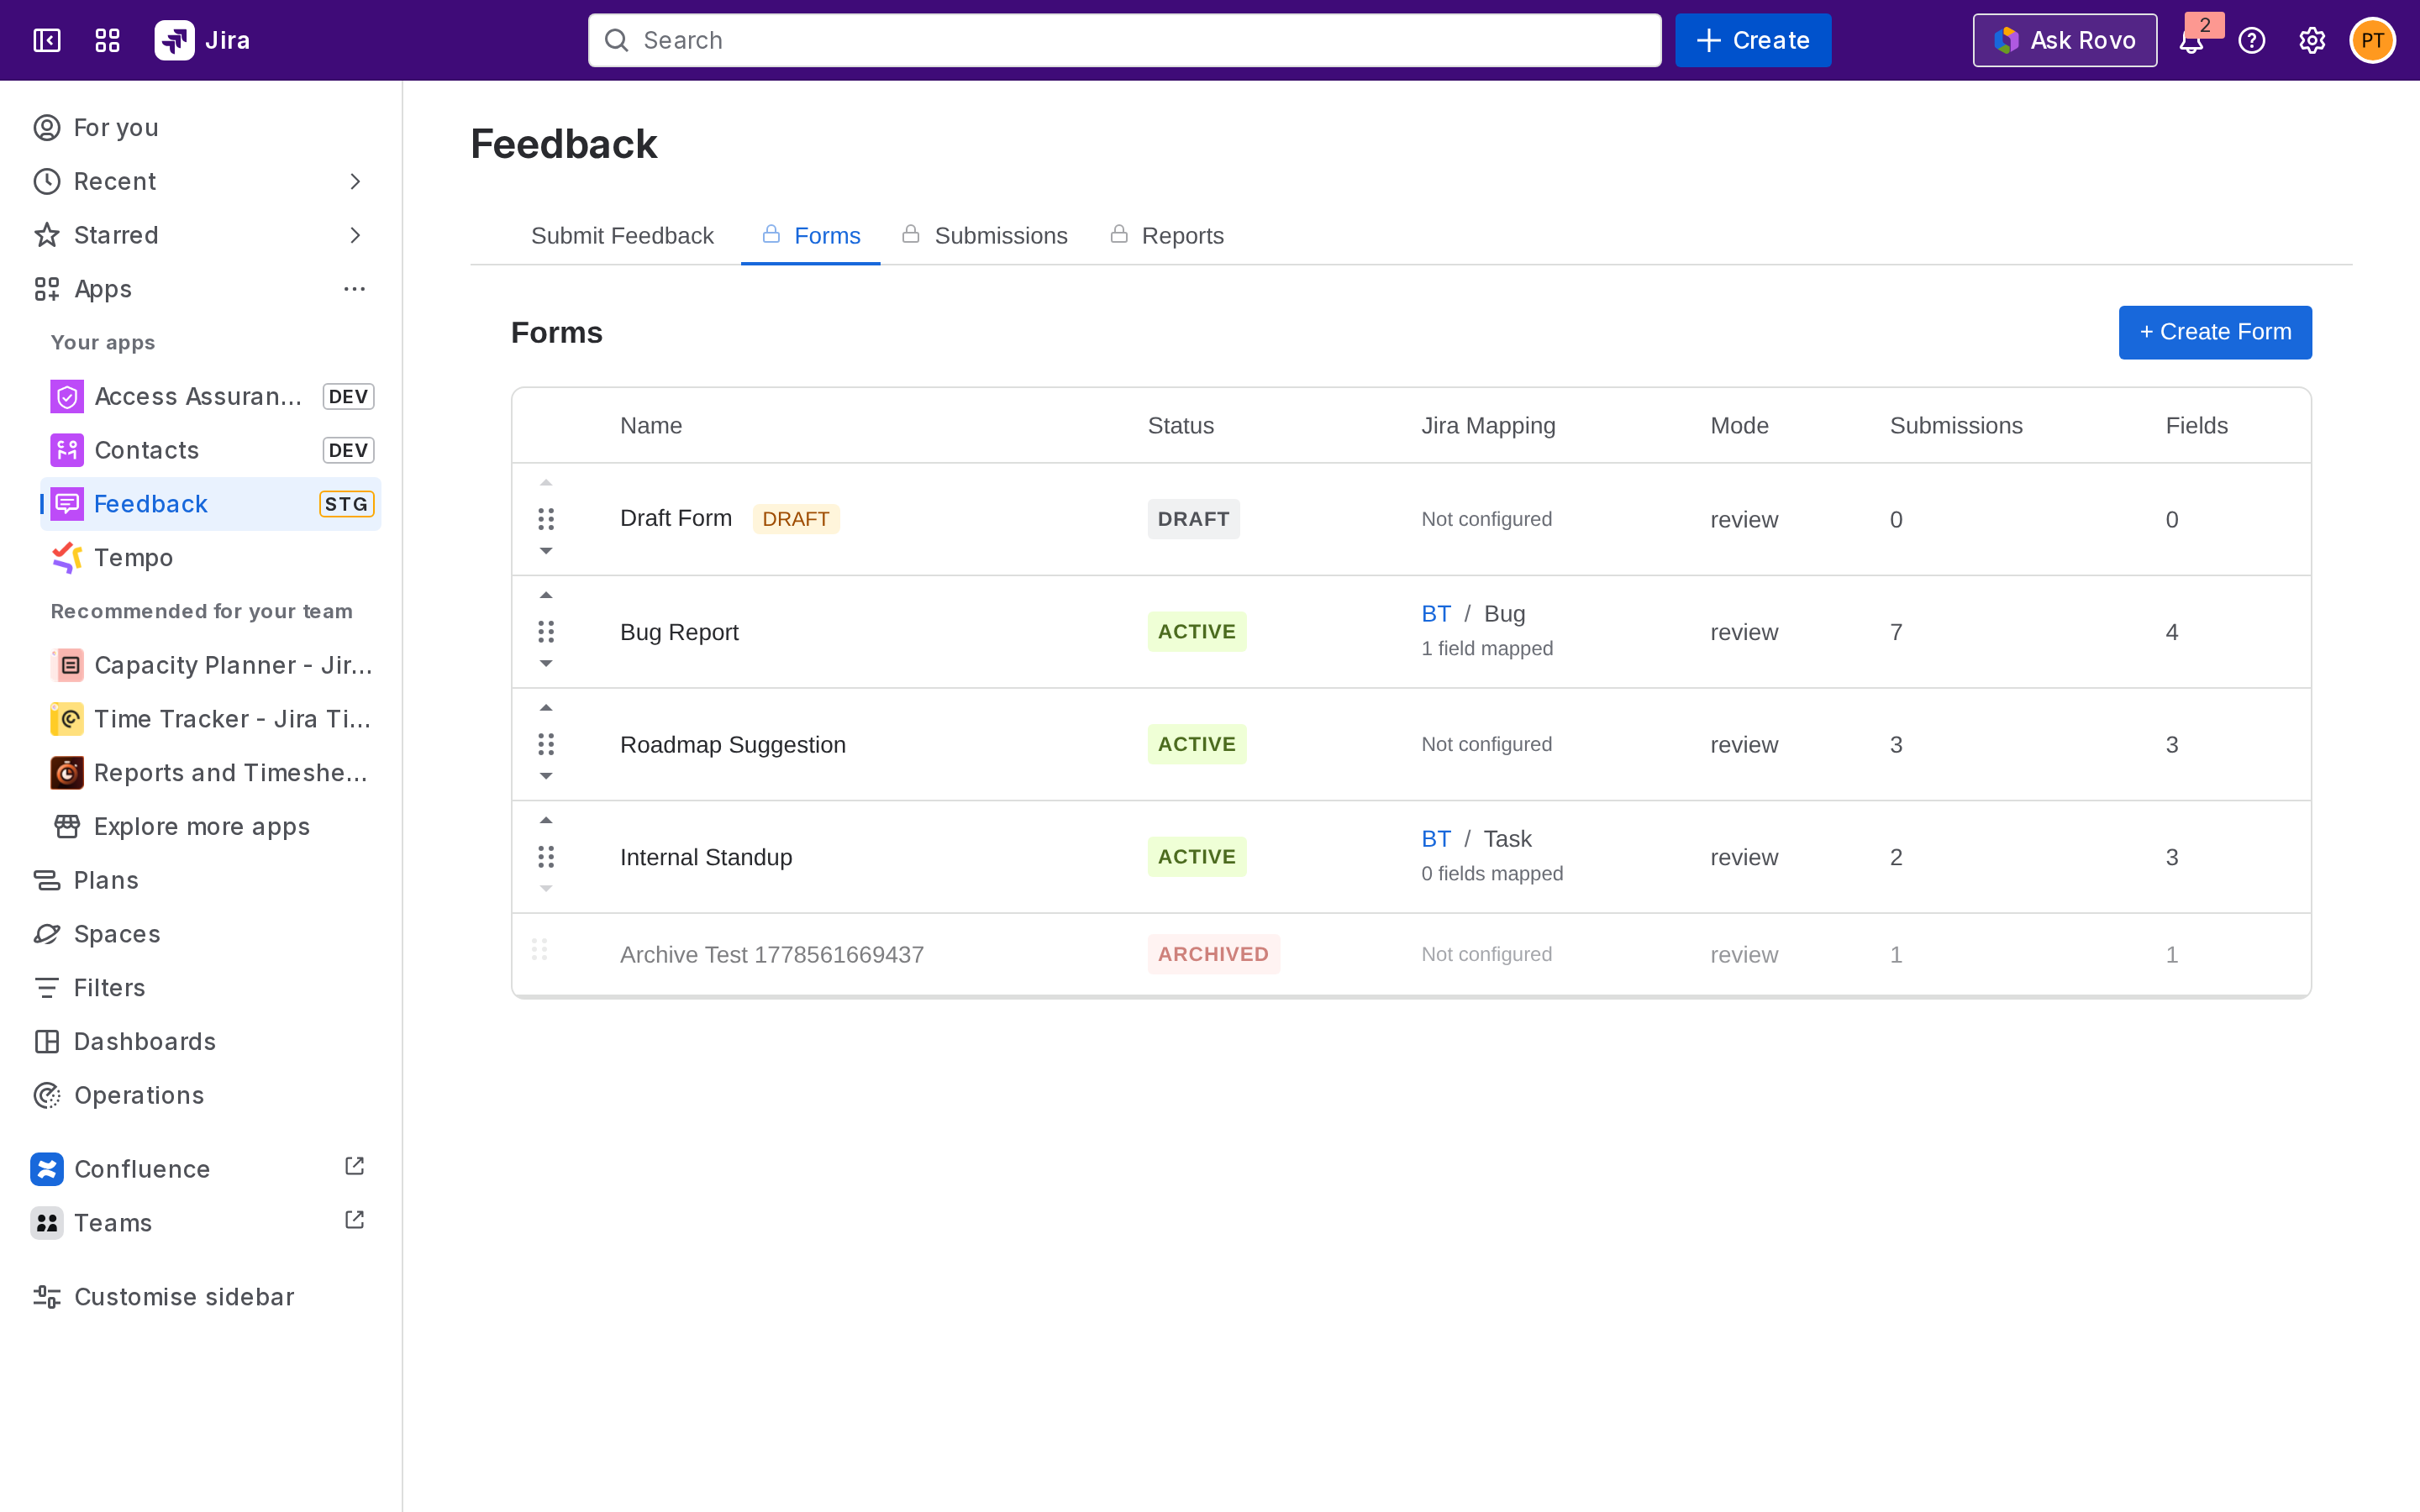
Click + Create Form. The form builder opens as a 3-step wizard.
Step 1 - Form Details
Give the form a Name and Description, then choose its visibility:
-
Allow anonymous submissions: Submitters' account IDs are not stored. Use for sensitive or feedback-fatigue-heavy contexts.
-
Restrict to groups: Only users in the selected Jira groups can see and submit the form. Leave empty to make the form visible to everyone with access to the Feedback page.
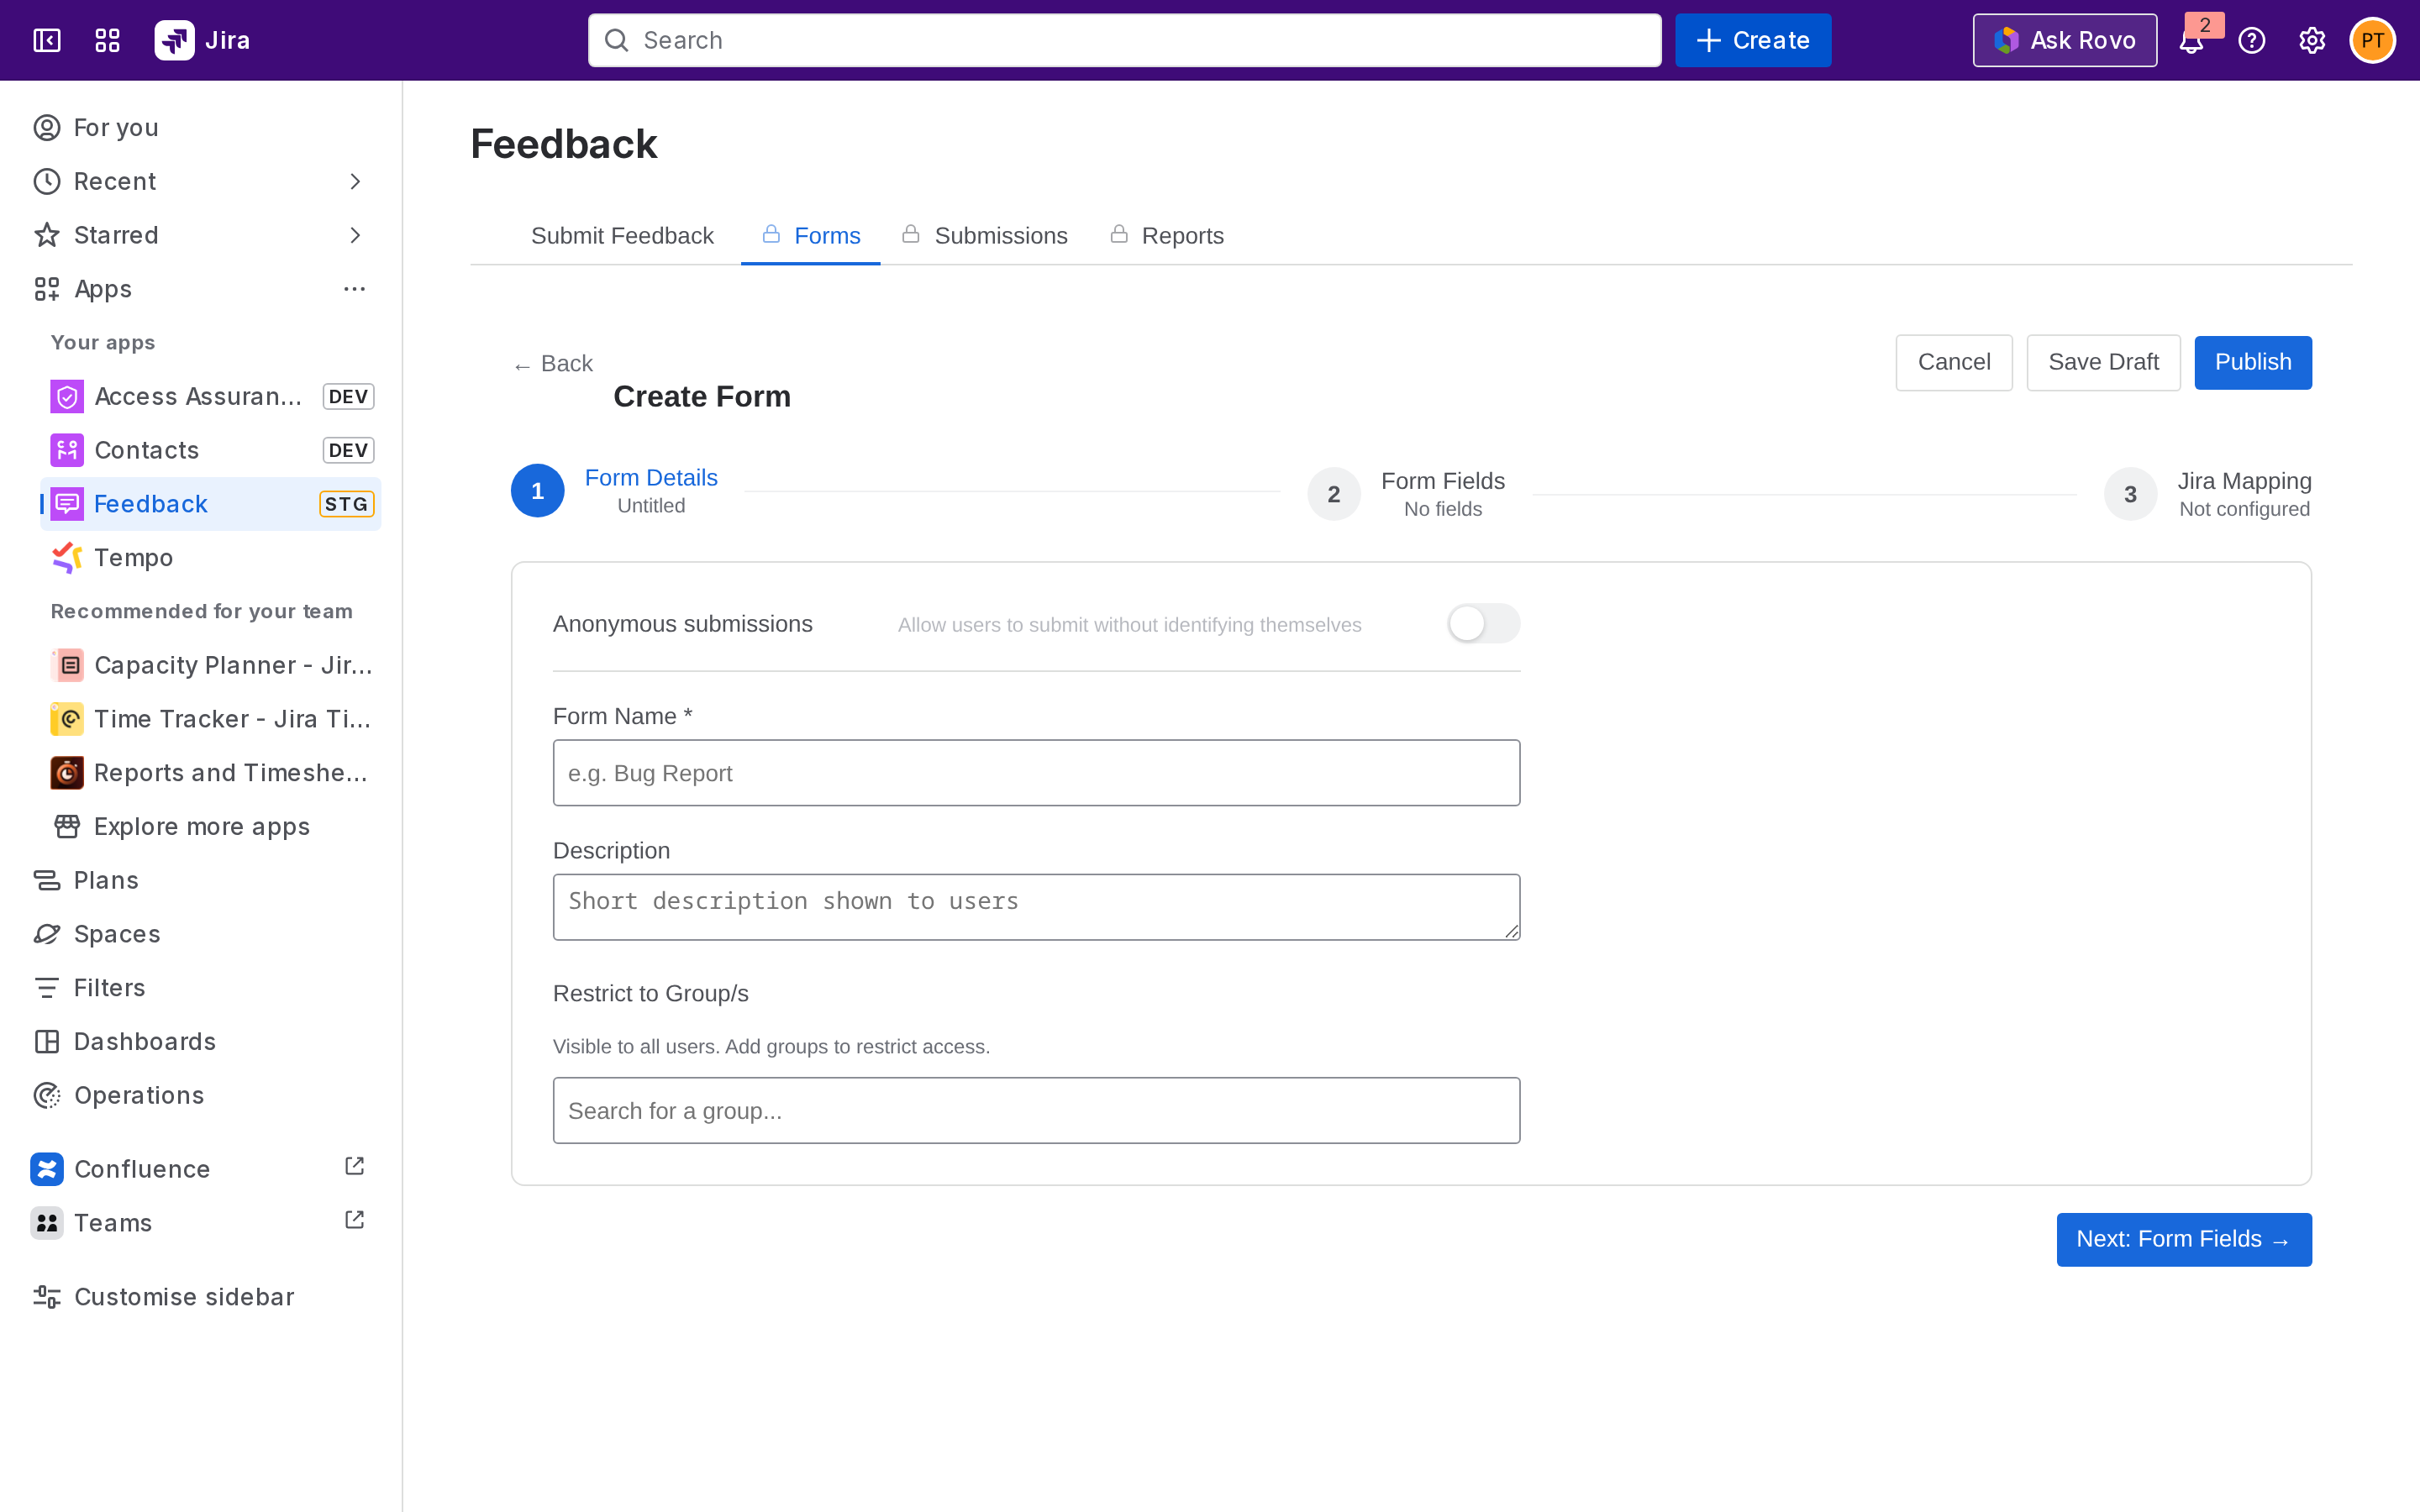
Click Next to move to Step 2.
Step 2 - Form Fields
Click a field type from the palette to add it. Available types:
-
Short Text
-
Rich Text Area
-
Single Select a dropdown with one choice.
-
Multi Select a dropdown with multiple choices.
-
Checkbox
-
Rating a 1–5 scale.
-
Yes / No
-
Date
For each field, set the label, mark it required if needed, and reorder by dragging.
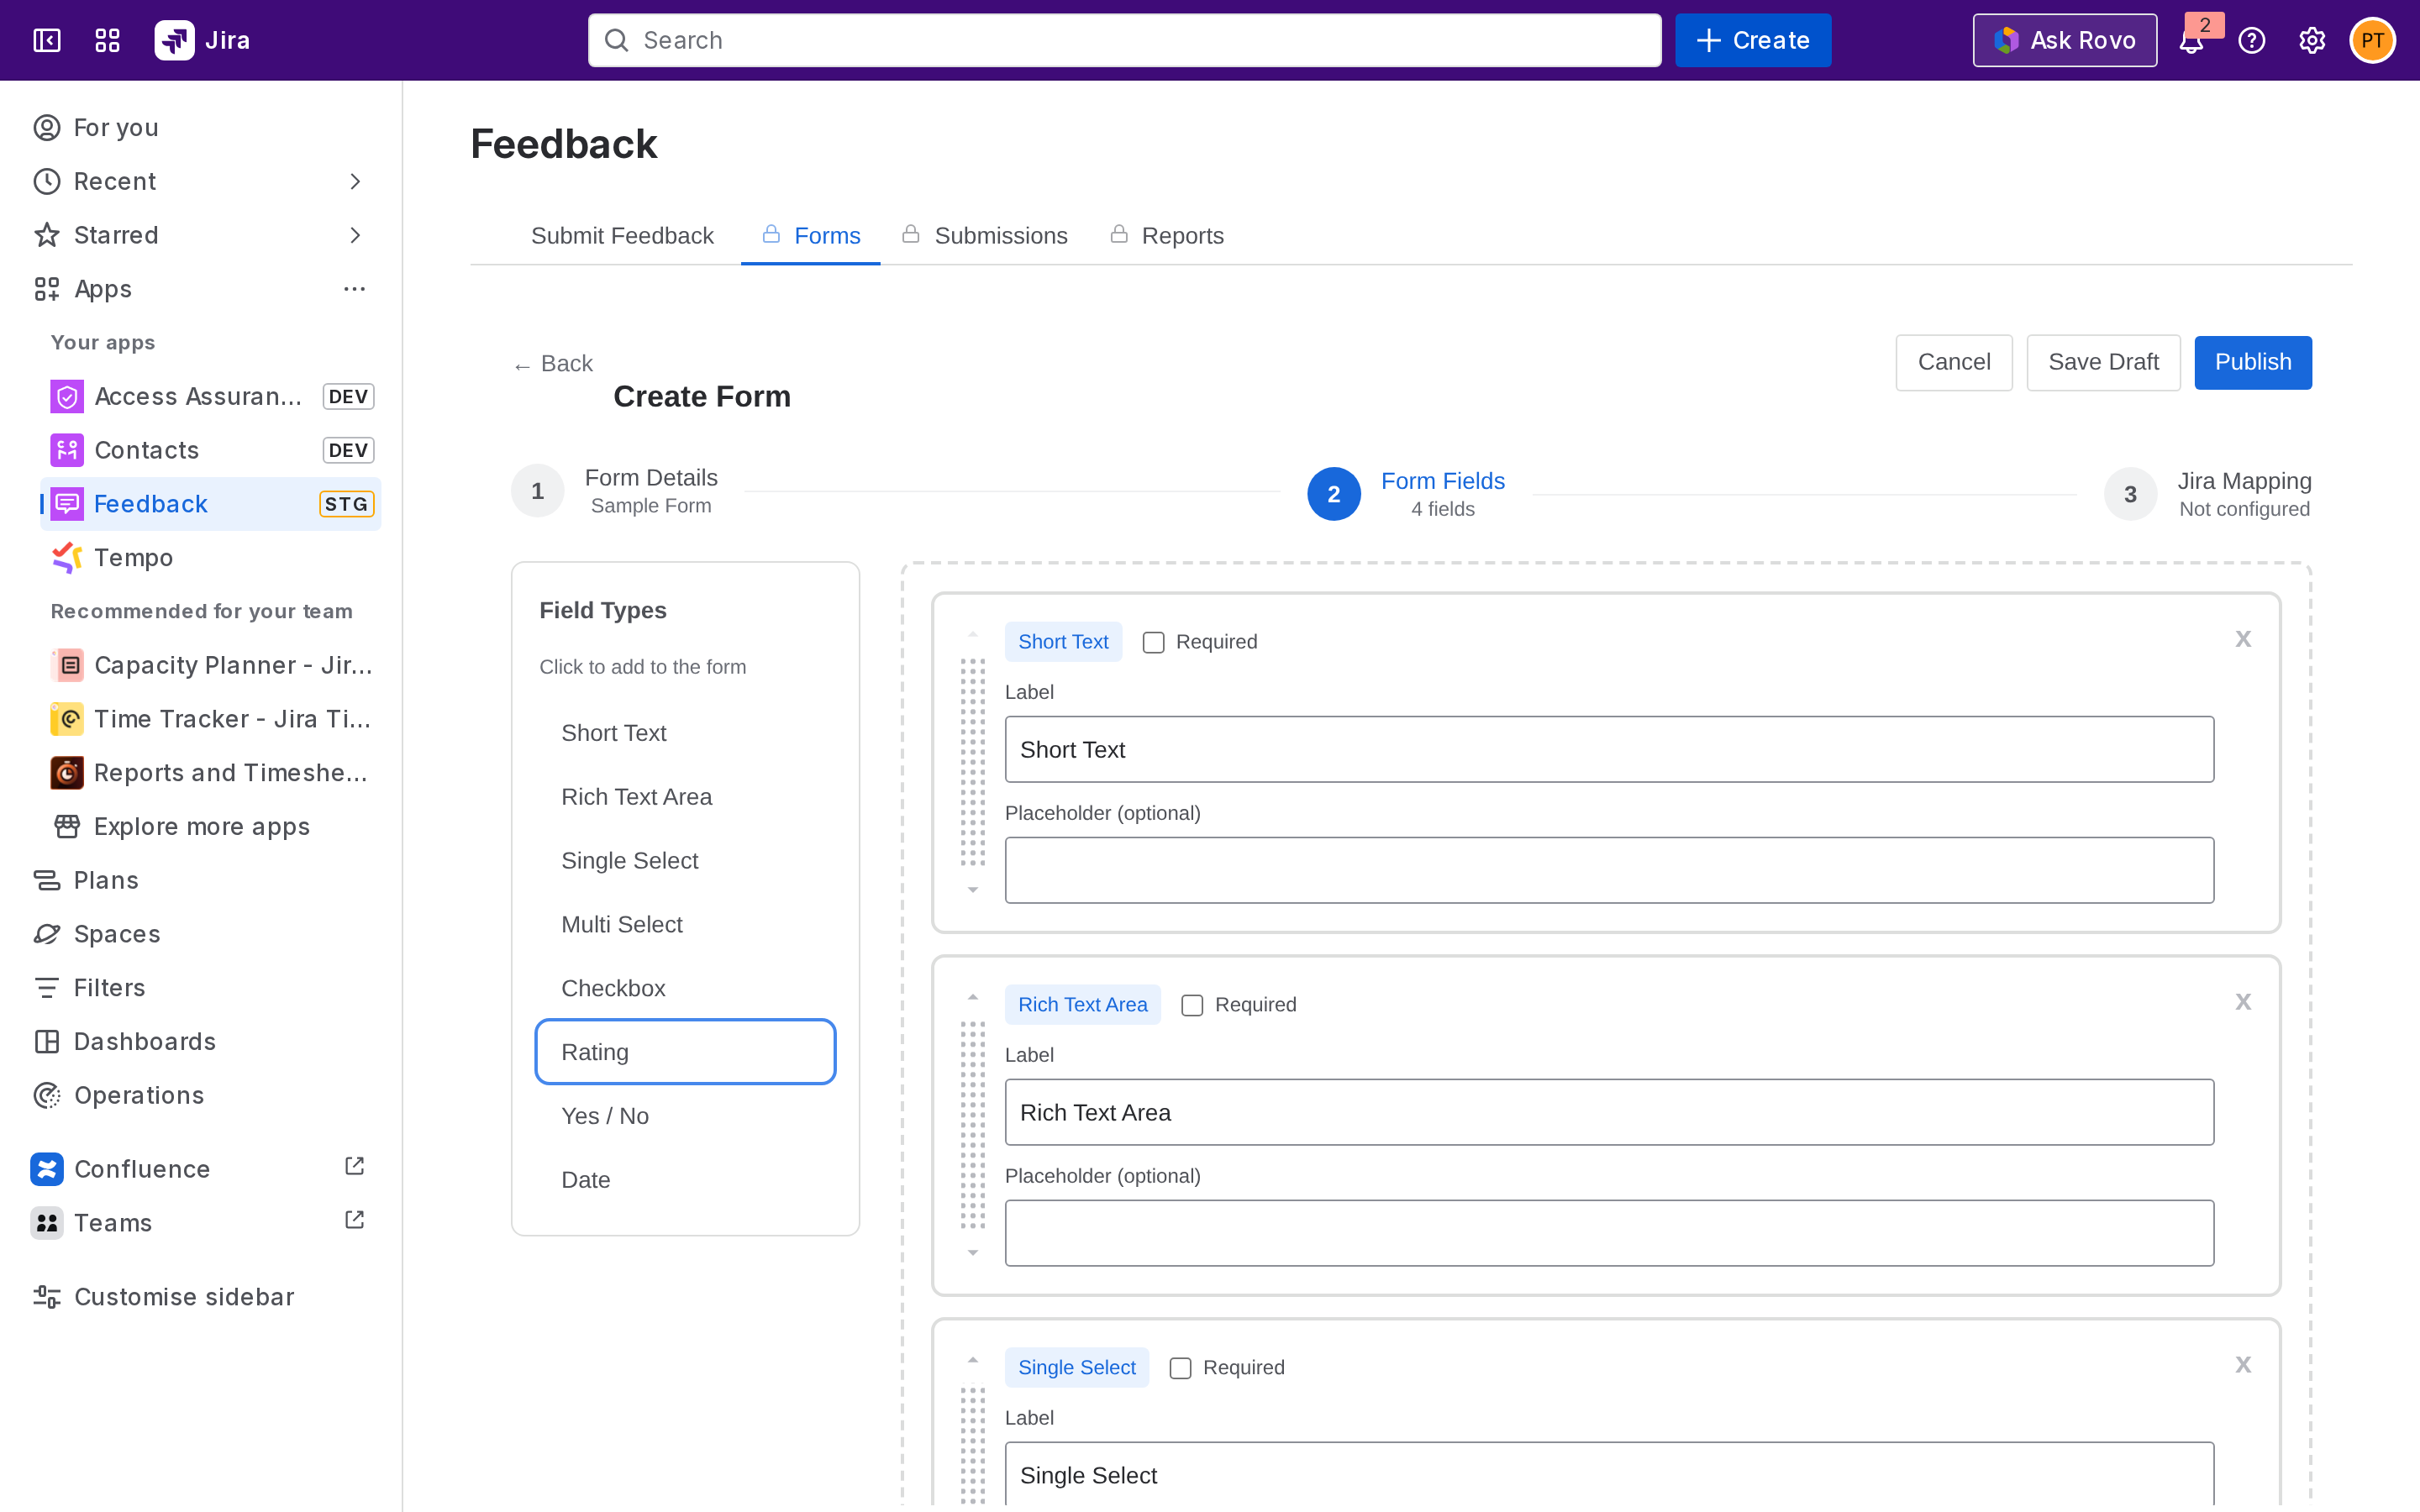
Click Next to move to Step 3.
Step 3 - Jira Mapping (optional)
If you want submissions to become Jira work items, choose a target Space and Work Item Type, then map each form field to a Jira field. The full mapping workflow is covered in Mapping form fields to Jira.
If you don't want to create Jira issues from this form's submissions, skip this step, submissions will still be captured and reviewable on the Submissions tab.
Save Draft or Publish
-
Save Draft keeps the form on the Forms list with status Draft. Drafts are not visible to submitters.
-
Publish makes the form live and visible to its target audience.
After saving, you can edit, archive, or delete existing forms from the Forms tab.
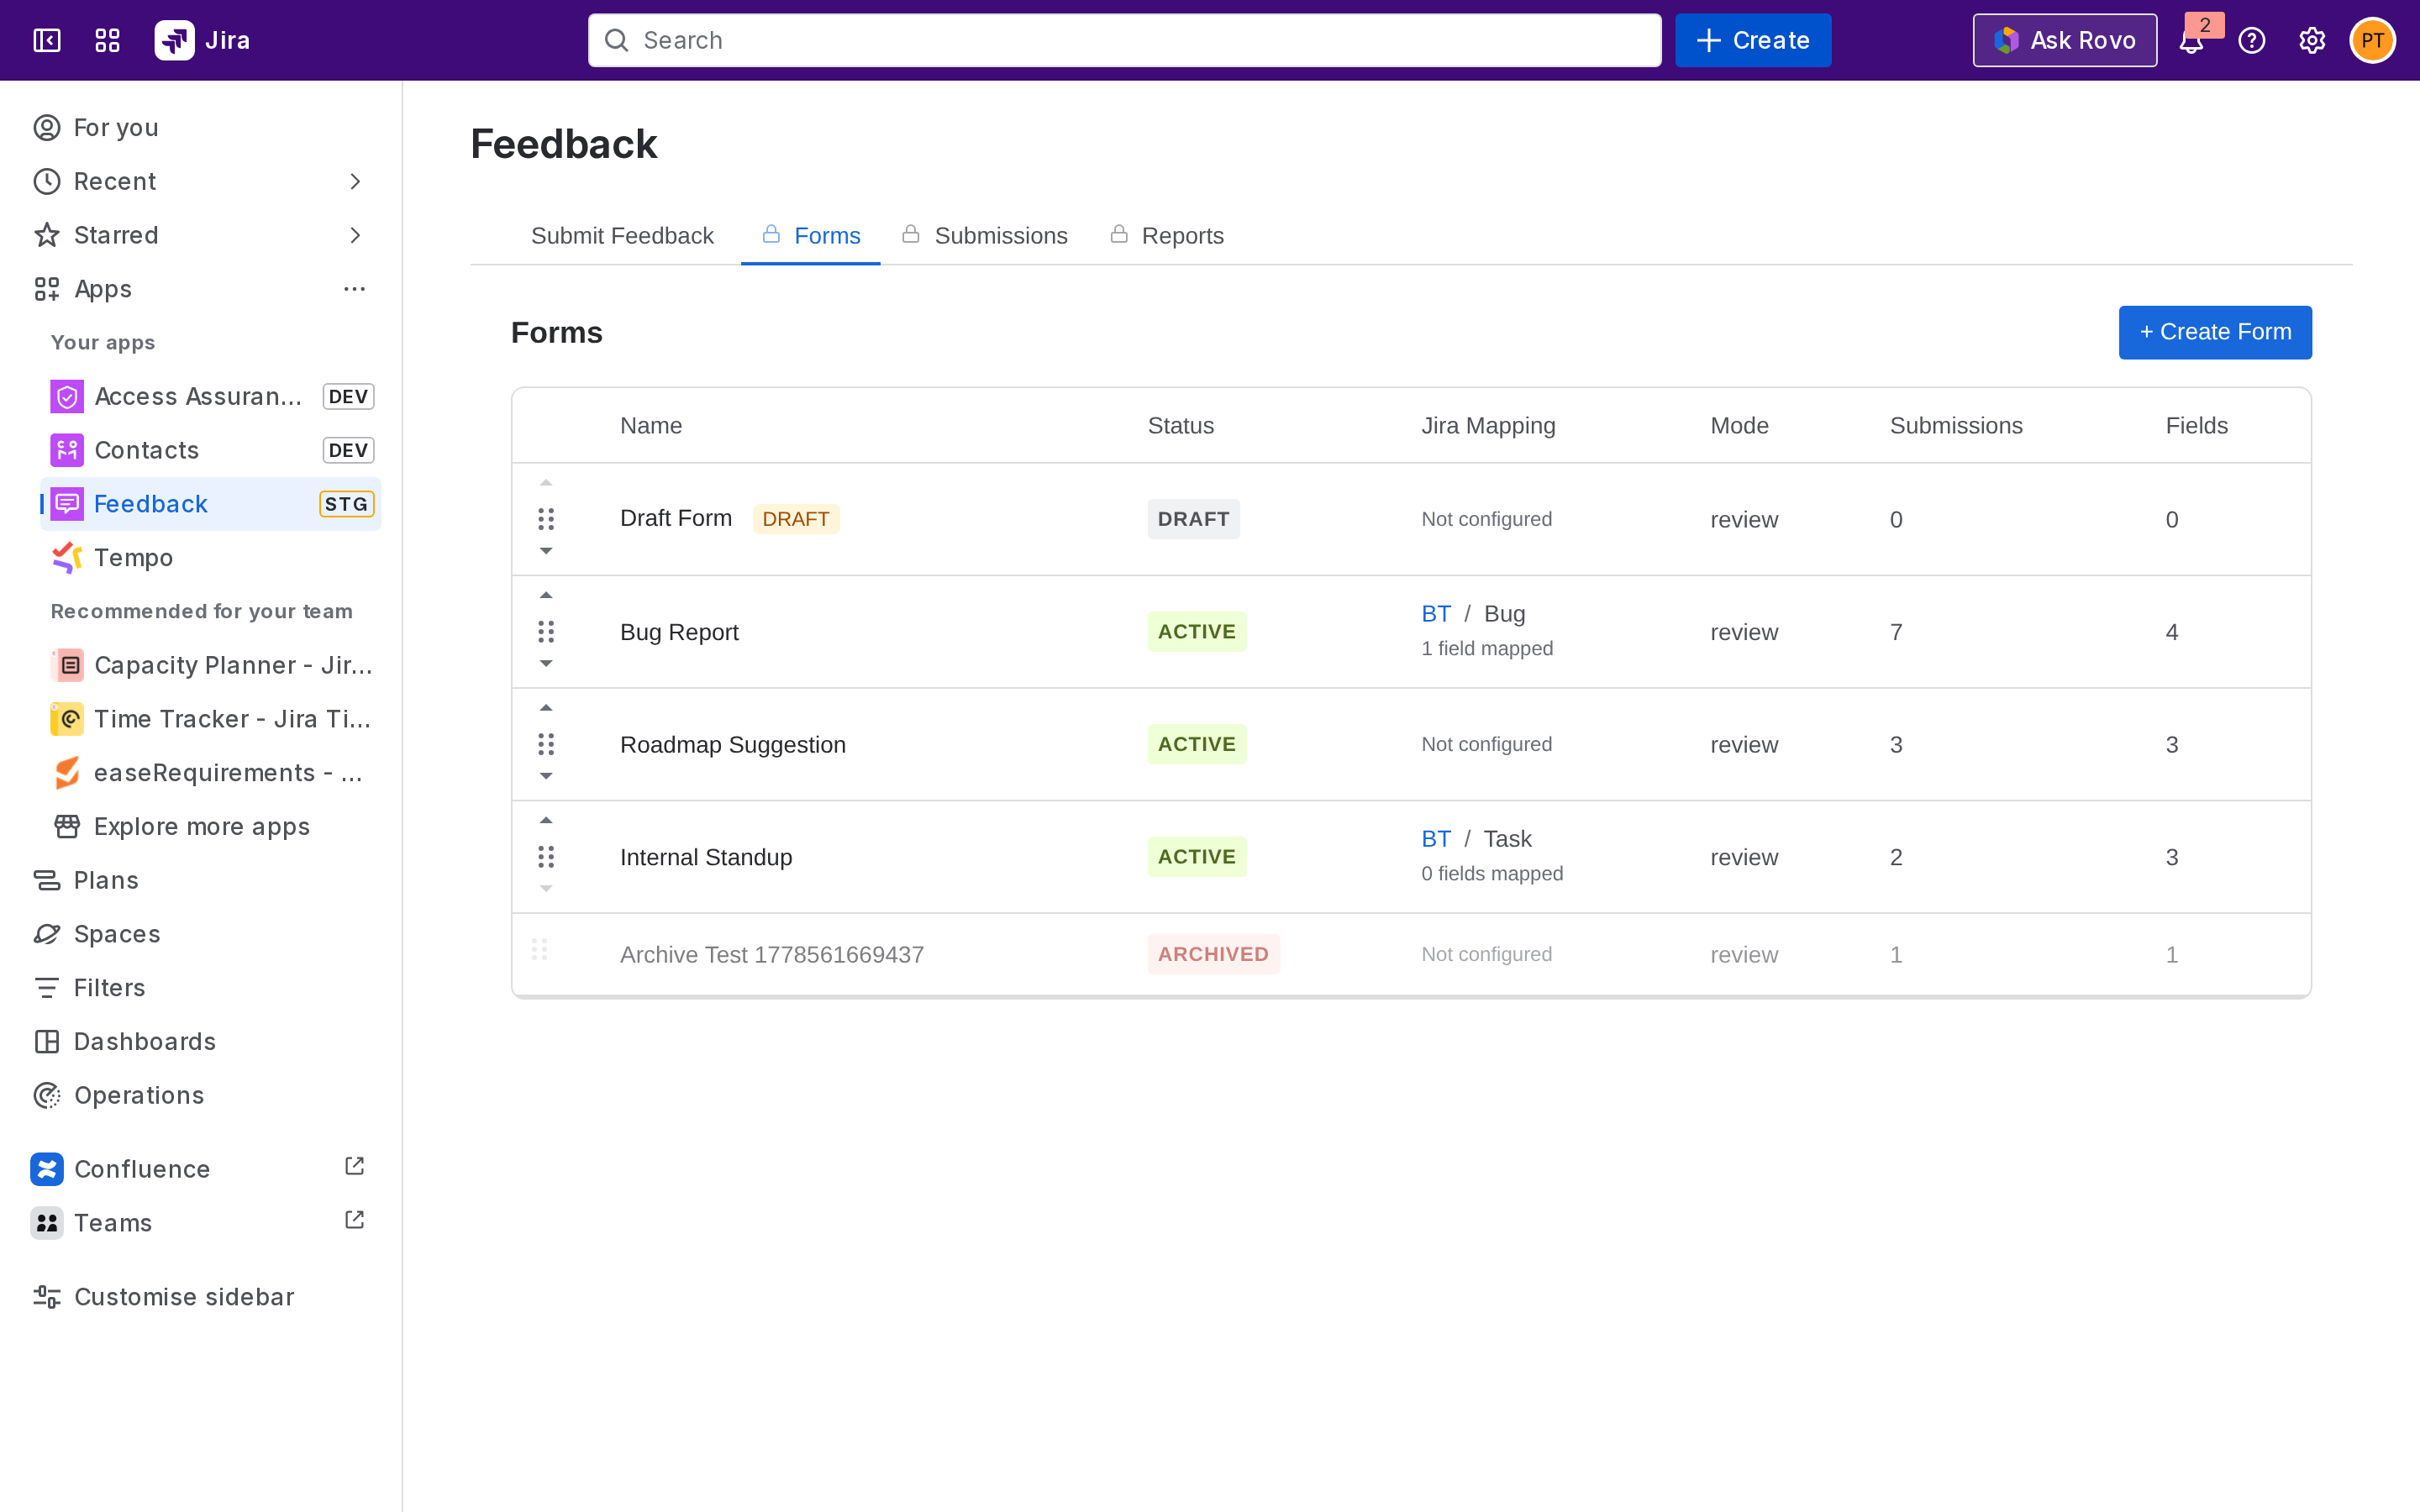
Forms that have submissions cannot be deleted, archive them instead.
Next step
Mapping form fields to Jira - turn submissions into Jira work items.