Once you have created your Word document template, you will then need to upload your template into your space so you can start to auto-generate a document from your Jira work items. (See how to create your Word document template here.)
Uploading your template
Upload your Word template by going to the DocGen configuration page. This is generally restricted to administrators, so if you can’t get there you may need to ask your administrator to do this.
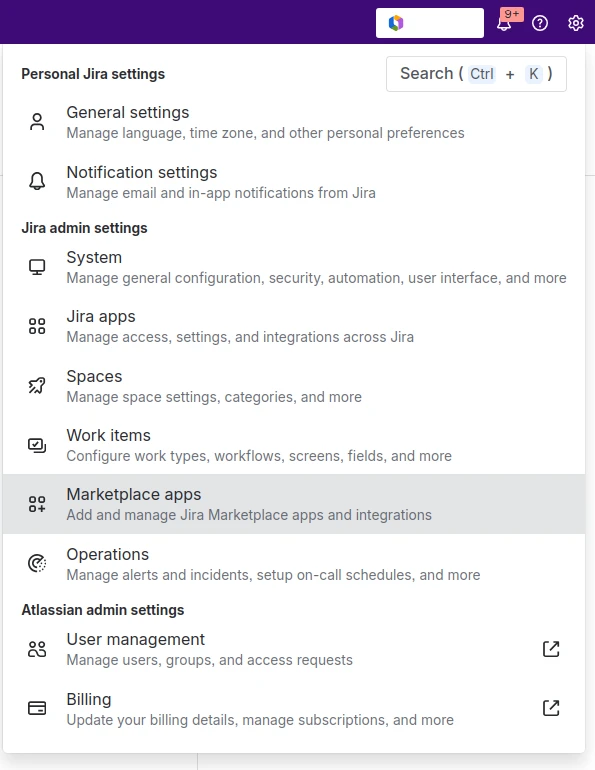
To open the DocGen configuration page click the cog icon. Then select Marketplace Apps.
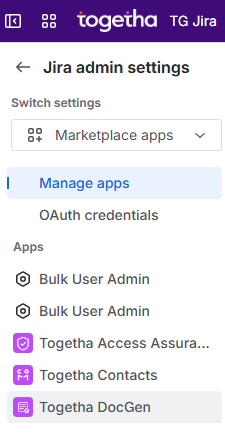
Then click Togetha DocGen from the menu on the left of screen.
On the Admin page click the Choose Files button and select the document you want to upload, then hit Upload. Make sure you give the file a meaningful name so you can find which template you want later.

Creating an automation rule to run the DocGen action
Now you want to create an automation rule that will call DocGen to create your document when a trigger is activated, e.g. when the work item status changes.
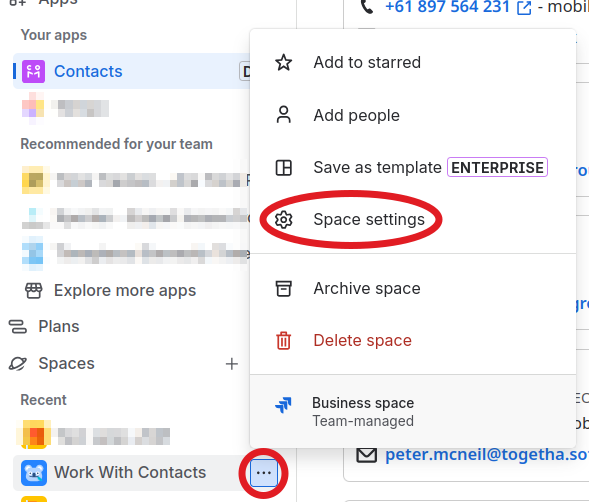
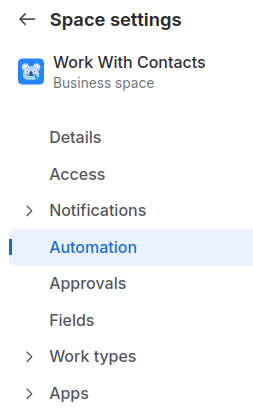
In the left sidebar find your space and click the three dots next to its name to find the Space settings.
On the Space settings page click Automation.
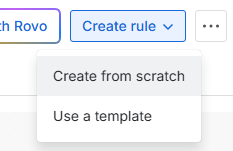
Then select the Rules tab. Click Create rule and select Create from scratch which will open the rule editor.
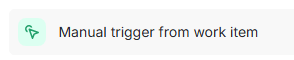
First we need to create a trigger. We’ll use a “manual trigger” here as a demo, but you can use any trigger.
Click Manual trigger from work item, then click Next.
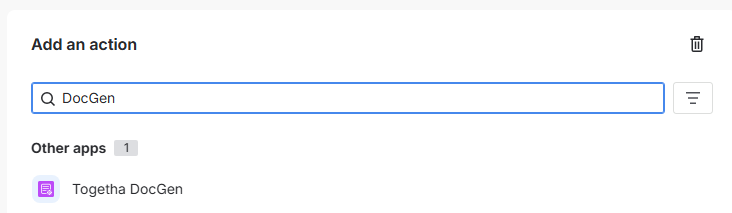
Now click THEN: Add an action.

Type DocGen in the search box to find the DocGen action and click on it.
Click the blue Connect button, which will connect this action to your user.
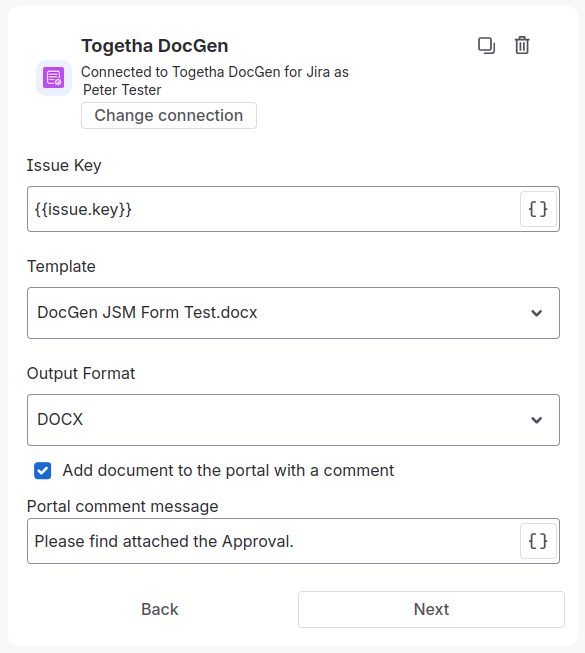
Now you will see a short form, which allows you to set the issue key (the identifier for a Jira work item) to provide the Jira data, and the template you want the data added to.
You most likely want to use {{issue.key}} in the Issue key field so the Work Item that triggers the automation will be used to fill in your document. In more complex automations, you may wish to pass in a different Work Item key.
Select the Word template you want to use from the dropdown.
Select the Output Format of either DOCX (Word Doc) or PDF.
If you want to provide the attachment to a JSM customer via the Portal tick Add document to the portal with a comment and fill in the Portal comment message.
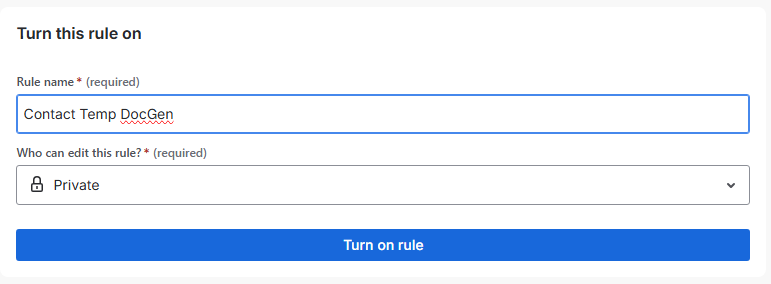
Select Next, then click Turn on rule.
This will open a new form, where you can give the rule a name and specify who can edit it.
Once you have done this, click the big Turn on rule button.
You should now see something like this:
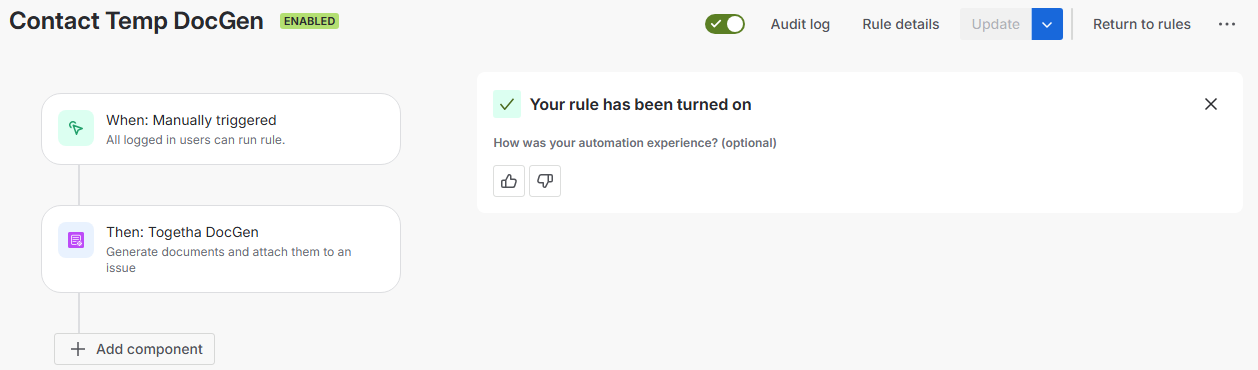
If you do, you’re ready to try it out!
Generating your document
Go to a Jira work item and fill in the fields that are represented in your template, such as the Summary and Assignee fields.
Now click the automation button to the right of the work item status
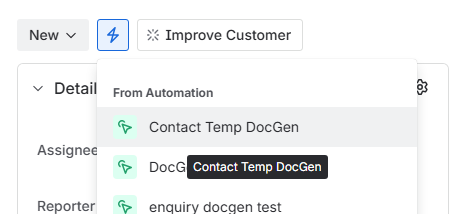
Note that you only have to do this if you use a manual trigger. If you’ve used a trigger like “Work item created” or “Work item transitioned”, the rule will run as soon as those triggers are activated.
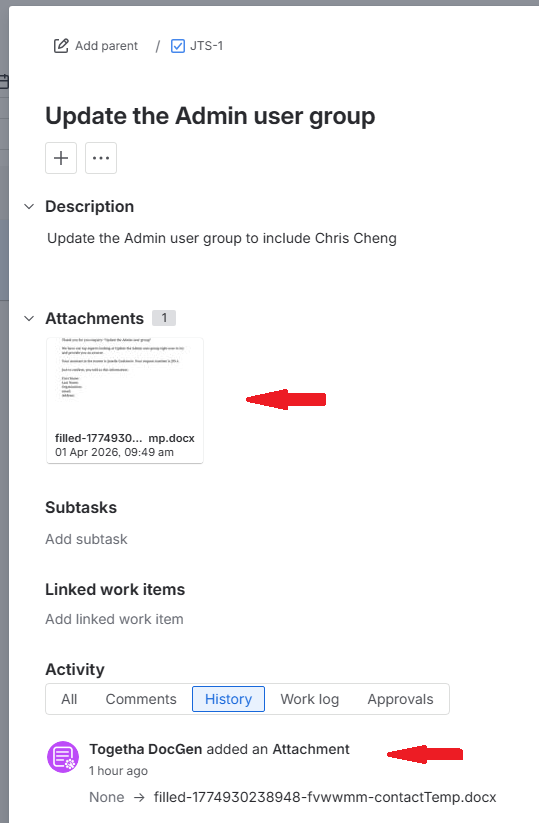
Togetha DocGen will fill in the template you chose with the field values in the work item and produce a PDF or Word document (depending on what you selected when creating the Automation).The document will be attached to the work item, ready for you to view or download. A comment by Togetha DocGen for Jira will be added to the comments section at the same time.